The season of love is upon us! While we don’t really celebrate Valentine’s day at our house, I don’t mind using the holiday to do some fun science experiments and STEM activities! I put together a list of over 35 heart themed science and STEM activities in honor of Valentine’s day!
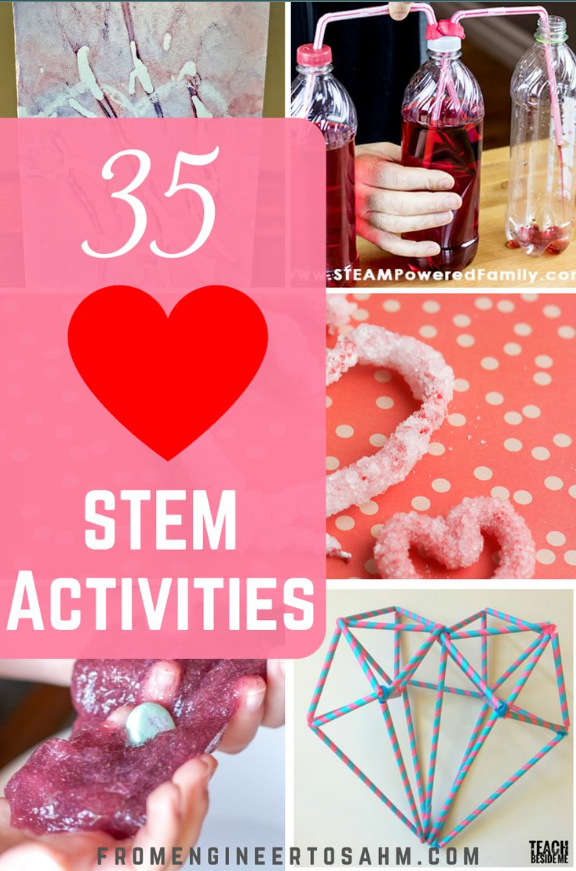
35 Heart Themed STEAM/STEM Activities
Chemistry Experiments
Hearts on Fire Valentines Science Experiment
Chasing Hearts Challenge
Crystal Hearts Valentines Science Experiment
Peeps Playdough and Heart Engineering Challenge
Crystal Heart Valentine Science Experiment
Watercolor Surprise Heart Art Painting Ideas
Heart Art Salt Painting Project
Interlocking Crystal Hearts
Engineering
The Love Boat STEAM Engineering Challenge for Kids!
Experimenting with States of Matter
Chocolate Hearts Science Experiment: Forms of Energy!
How to Make Simple Melting Love Hearts
Fizzing Hearts
STEAM Valentines – Fizzy Heart Science
Valentine’s Day SCIENCE Activity
Bubble Painting – Fun with Science
Valentine’s Hearts Fizzing Chemical Reactions
Math
Geometric Heart – Valentine STEM
Heart Tessellation – Valentine Math
Valentine’s Math – Pascal’s Triangle
Valentine Math Activity: Valentine’s Venn Diagram
Counting Roses Activity for Valentine’s Day
How to Make a LEGO Heart
Mechanics of a Real Heart!
Easy Heart Pump Model: Cardiovascular STEM for Kids
Build A Functioning Heart Model – Heart STEM Activity
3D DIY Heart Model for Kids!
Physics Experiments
Floating Hearts Magnetic Challenge
Conversation Heart Catapult for Valentine’s Day
STEAM Balancing Heart Toy for Valentine’s
Sensory Experiments
Edible Valentine’s Day Conversation Heart Slime
Candy Hearts Oobleck Science Activity
Easy Valentine’s Day Heart Slime for Kids
Water Science Experiments
DIY Valentine using Water Science
Valentine’s Treasure Ice Sculpture
Science Valentines Skittles Experiment
Dancing Candy Heart Experiment
DIY Heart Shaped Bubble Wand
Color Mixing with Heart Snowball Smashing